
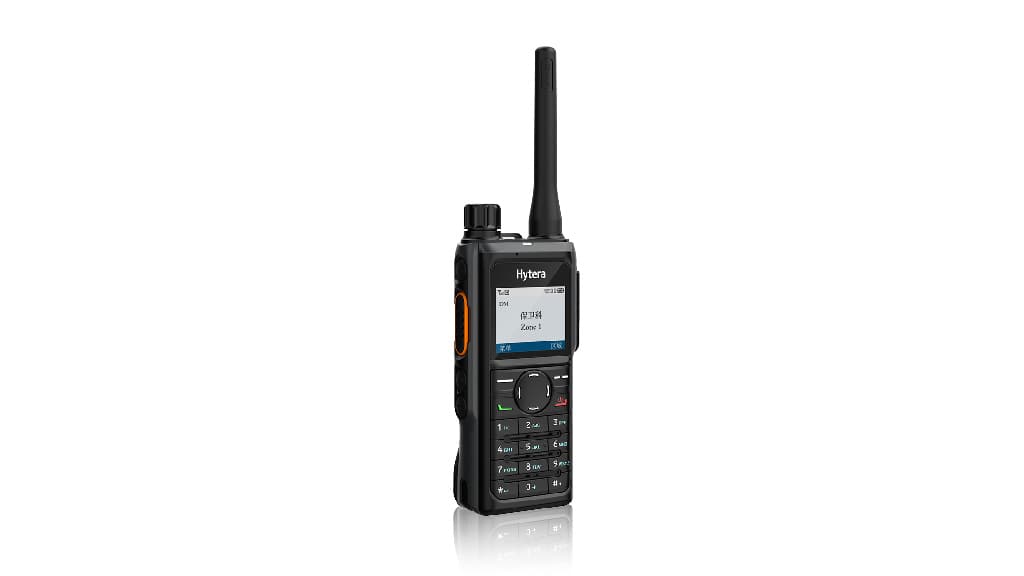
Getting Started with Hytera HP605 and HP685
HP605 and HP685 use different front-panel controls: HP605 uses a compact OLED and smart knob, while HP685 adds a colour display, navigation keys and numeric keypad. Use this first-use guide with the programmed channel plan for your exact radio.
Prepare the current HP6 setup
The current HP605 and HP685 base offer includes the BP2002 battery, matching antenna, BC48 belt clip and wrist strap. Desktop charging is not included in that base offer. For one radio, the CH10L30 cradle requires the separate PS1044 12 V supply. For shared charging, the MCL39 six-position charger includes its specified PS15002 power adapter and a compatible UK mains lead; radios and batteries are separate.
Fit the battery and antenna, attach the carrying parts, and charge the battery with the compatible charging arrangement. The HP60X and HP68X manuals recommend keeping the radio powered off during initial charging. Check that the antenna label's band matches the radio label before use. Keep the accessory connector protected when no accessory is fitted.
Turn on, set volume and select the working channel
HP605
- Press and hold the On-Off key to turn the radio on or off.
- Rotate the Smart knob clockwise to increase volume or counter-clockwise to decrease it.
- Use a Zone Up or Zone Down key that has been programmed for your fleet to choose a zone.
- To choose a channel, press the Smart knob and rotate it within five seconds. If the five-second window expires, the knob adjusts volume again.
These HP605 steps are from the HP60X User Manual, printed page 11 (PDF page 17).
HP685
- Press and hold the On-Off/P2 key to turn the radio on or off.
- Rotate the Smart knob clockwise to increase volume or counter-clockwise to decrease it.
- To make a zone the default, open Menu > Zone, select the zone and choose Set Default. To select a channel, use Menu > Zone, select the zone and then the channel; the manual also describes the Back key and programmed channel keys as alternatives.
These HP685 steps are from the HP68X User Manual, printed pages 13–14 (PDF pages 18–19).
Receive and speak on a programmed channel
Only use a channel that the radio has been correctly programmed for your system and that your organisation is permitted to operate. Selecting a channel number alone does not create a working radio system.
A group call is received without an operation. When you need to speak, select the programmed group contact or channel and press and hold PTT. On the HP605, press and rotate the Smart knob to select the digital channel preset with a group contact before holding PTT. On the HP685, press and rotate the Smart knob to select the group contact preset for the digital channel, or use Menu > Contact/Favorite and select the contact before holding PTT. Keep the microphone about 2.5–5 cm from your mouth while speaking, as specified in the manuals. Release PTT to listen.
One Touch Call and similar shortcuts operate only when that feature has been preprogrammed for the radio. Do not assume a shortcut key has the same function on every fleet.
After use
Keep the radio, battery contacts and accessory connector clean and dry. If the radio is seriously wet inside, do not turn it on. Follow the applicable manual for drying, charging, storage and cleaning, and use only compatible accessories. Use the battery and shift guide for rotation planning. For the matching HP605/HP685 BP2002, see the BP2002 battery page. For the interface decision, compare the keypad and controls guide; for the full offer and configuration, see the HP605 and HP685 pages. The Hytera radio category provides the wider selection route.
If a channel is silent, weak or unavailable, stop and have the programmed channel, frequency/signalling configuration, battery, antenna and coverage plan checked by the person responsible for the system. Do not change licensed or safety-critical settings from this guide.
Keep the operating manual with the fleet
Download the HP605 user manual (HP60X, English PDF) or HP685 user manual (HP68X, English PDF) for the complete controls, indications and care instructions. This guide uses the basic-operation and group-call sections; available keys and menus follow your radio configuration.